June 20, 2017

Stamping + Traveler's Notebook

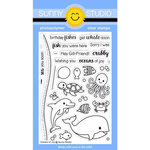
It's that time of the year when we travel far (and near) from home to experience all of the best of summer. I was so happy to see a traveler's notebook in this month's kit - perfect for our recent trip to Florida! I decided to focus most of the design in these pages around the stamps included in the Summer Stamp Set. Let's take a look at how stamping + traveler's notebooks are perfect together.
Florida Traveler's Notebook by @nancydamiano | @felicityjane
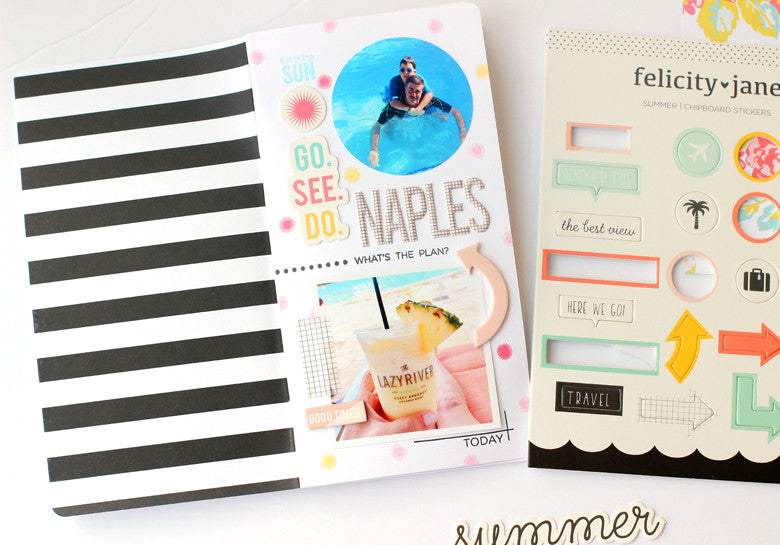
This is the opening page to my notebook. Don't you love that nice, bold black and white stripe on the inside cover? I started this page by using the small starburst in the Summer stamp set to create a fun background. Scattering stamped dots is a great way to add color to your notebook without the bulk of patterned paper. 
Florida Traveler's Notebook by @nancydamiano | @felicityjane
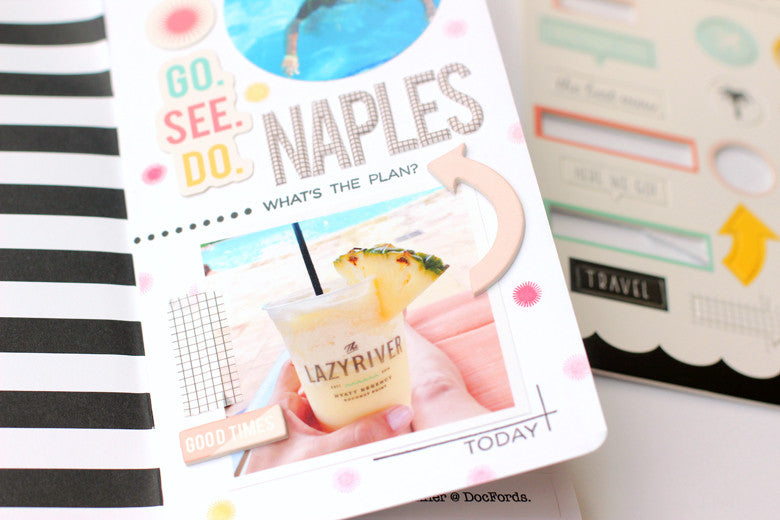
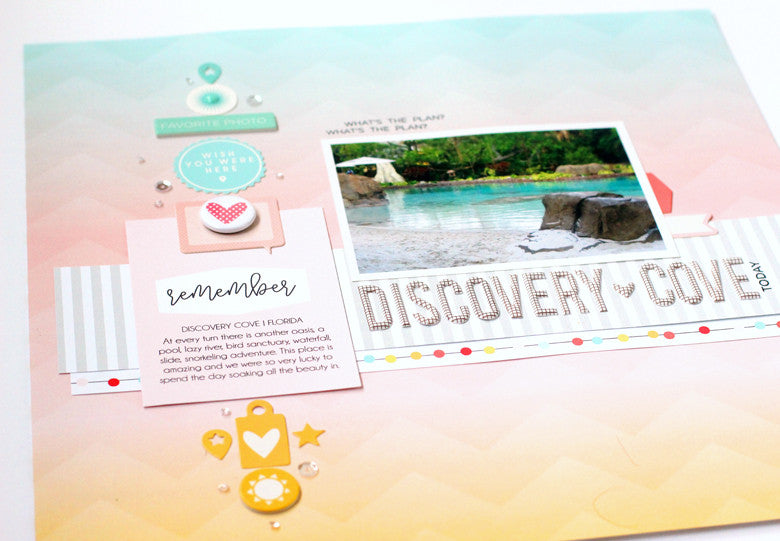
I separated the top and bottom halves of the page by using the dotted line  and "what's the plan" stamps. This simple line creates a border between the two photos.
This page contains also cleverly contains the "where" of my trip. If you take a close look at the photo of my drink, you can see the name of the resort. To highlight a main photo like this one, use the corner lines stamp and a sentiment from the Summer Stamp set to frame it out.
Stamped Traveler's Notebook by @nancydamiano | @felicityjane
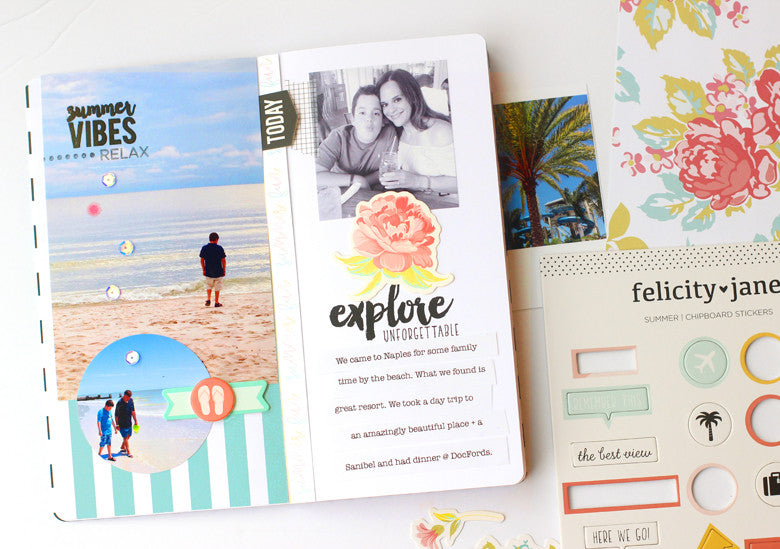
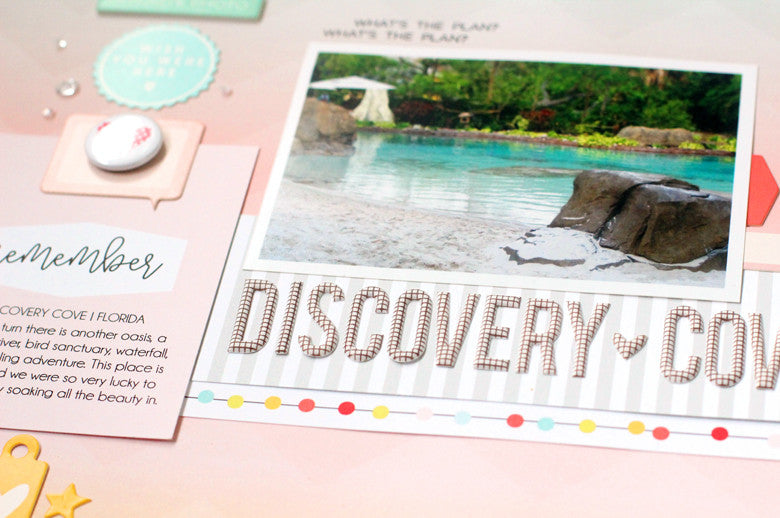
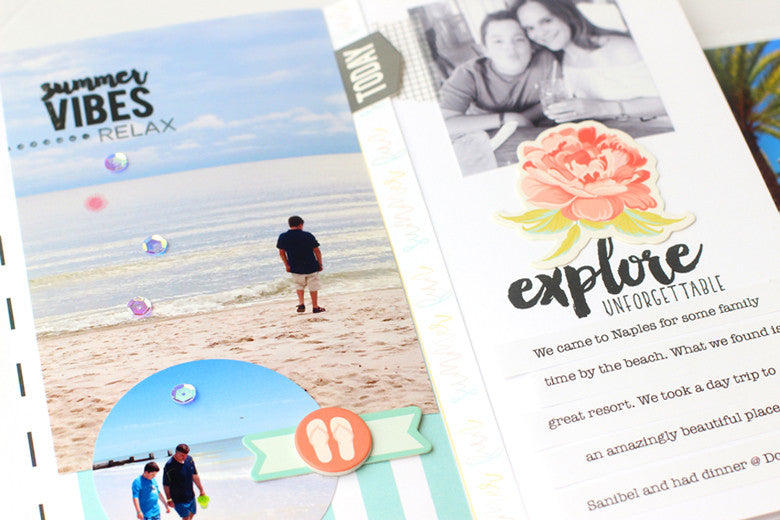
Adding a stamped title right in your photo is a great way to not only highlight the subject, but also cuts down on the bulk of sticker alphabets. Remember to use a permanent ink like Versafine when stamping on photo paper.  The same idea was used on the right side with the center, stamped title. The "explore" stamp looks like faux script writing here.
Stamped Notebook by @nancydamiano | @felicityjane

Thanks so much for stopping by today. I hope you've gotten some tips on how to use stamps in your notebooks. Happy travels!

June 13, 2017

Sunny Studios Design Team!

I'm so happy to be on the Sunny Studios Stamps design team! I started making cards last summer to get a break from the big scrapbook canvases that I was working on. I fell in love with these tiny pieces of art. I love the coloring, the cuteness and the challenge of a new craft.


This is the first cards that I made for Sunny Studios with the Pirate Pals stamp set. I love these cute little guys! I used the wave steel cut die to create a perfect spot for my peek-a-boo pirates.


A wash of Distress Ink in Broken China over the front adds a punch of color to front of the card. All of the stamped images were colored in with Copic markers. I'm still getting the hang of these and practice (and more practice) has definitely helped!

The next set of cards were made using the fun Oceans of Joy stamp set. This set is so very versatile and the addition of a bouquet of balloons makes it perfect for all of those birthday cards I make year after year.


I started the card by using Distress Ink in Broken China on watercolor paper to create the wash of aqua color on the front of the card. Next, I cut out three windows and added a sentiment to the upper right hand corner.


All of the stamped images were colored with Copic markers and tucked behind the windows in peek-a-boo effect. A few scattered sequins completes this ocean of birthdays card.


Here’s a peek at a second card that I created using the leftover images I colored from the Oceans of Joy stamp set. I based this one on a very subtle bubble background in the center. I used all of the bubble stamps with very light grey ink to fill in the circular window. A few sequins and all of the leftover colored images complete the card!

Next time you need a few under the sea cards, grab Oceans of Joy and color your heart out!

SUPPLIES | Click on the photo for more info

Sunny Studio Stamps - Clear Acrylic Stamps - Pirate Pals  Sunny Studio Stamps - Sunny Snippets - Dies - Pirate Pals  Sunny Studio Stamps - Clear Acrylic Stamps - Oceans of Joy  Sunny Studio Stamps - Sunny Snippets - Dies - Oceans of Joy


Ranger Ink - Tim Holtz - Distress Oxides Ink Pads - Broken China  Lawn Fawn - Lawn Cuts - Dies - Small Stitched Square Stackables  Lawn Fawn - Lawn Cuts - Dies - Large Dotted Circle Stackables  Sunny Studio Stamps - Sunny Snippets - Dies - Stitched Scalloped Borders


Bella Blvd - Puffy Stickers - Hearts - Punch Mix

June 8, 2017

Neat and Tangled Release Day 4 | Exploding Boxes + Distress Oxide Inks

Hey there, welcome to the last day of the June Neat and Tangled release. The last set up is a die and stencil set called Exploding Boxes. It's a beautiful graphic design that begs for a colorful background!


To create this card I used the Neat and Tangled Exploding Boxes Die to create an intricate panel out of white cardstock. To create the background I used Distress Oxide Inks in Fired Brick, Spiced Marmalade, Fossilized Amber and Broken China. It's amazing how opaque and easy to layer these inks are. So very different from the original Distress Inks!


A sprinkle of sequins and a sentiment on black cardstock, embossed in white finish off this bold card design.

Neat and Tangled will be giving away a Exploding Boxes Steel Die and Stencil Set. To enter, leave a comment below to be entered. Tell me what's your favorite coloring medium. Visit the Neat and Tangled blog on Friday for a list of winners. Good luck and thanks for stopping by!

June 7, 2017

Neat and Tangled June Release Day 3 | Welcome Home

Hey there, welcome to the first day of the June Neat and Tangled release. The third stamp set up is called Welcome Home and it's a beautiful bold design. I love the solid house image and went to town creating a background with it!


To create this card I used the Neat and Tangled Welcome Home stamp set to make a fun background on my card. I used the solid house image and pigments inks in shades of green, yellow and blue. Using a stamping press tool makes getting a nice, crisp image like this easier! I then stamped the sign post image on the center of a rectangle piece of cardstock and colored it with Copic markers. I wanted the sentiment to really stand out here against the busy background, so I used aqua embossing powder to give it a little lift.


A few sprinkles of hearts up the post finish off this home sweet home card.

Neat and Tangled will be giving away a Welcome Home stamp set. To enter, leave a comment below to be entered. Tell me what's your favorite card background to create. Visit the Neat and Tangled blog on Friday for a list of winners. Good luck and thanks for stopping by!

Color Flow + Felicity Jane Summer

When I opened the Summer Kit, the first paper that caught my eye was this beauty. The perfect shades of a summer sunset with a kick. It reminded me so much of the scenery during a trip to Discovery Florida Orlando, that I decided to use it to tell the story of this amazing spot.
Discovery Cove by @nancydamiano | @felicityjane
This pattern is so beautiful, I had a hard time covering it up! I wanted the design to flow naturally with the colors in the background. I started by gathering chipboard, die cuts and a journaling cards in the same colors of the paper.
Discovery Cove by @nancydamiano | @felicityjane
I lined up the colored embellishments to match the shades in a vertical line. This really emphasizes the transition of color while the embellishments add a variety of shapes and texture to the page. A well-designed paper like this can serve as a guideline while adding your own twist! 
Discovery Cove by @nancydamiano | @felicityjane
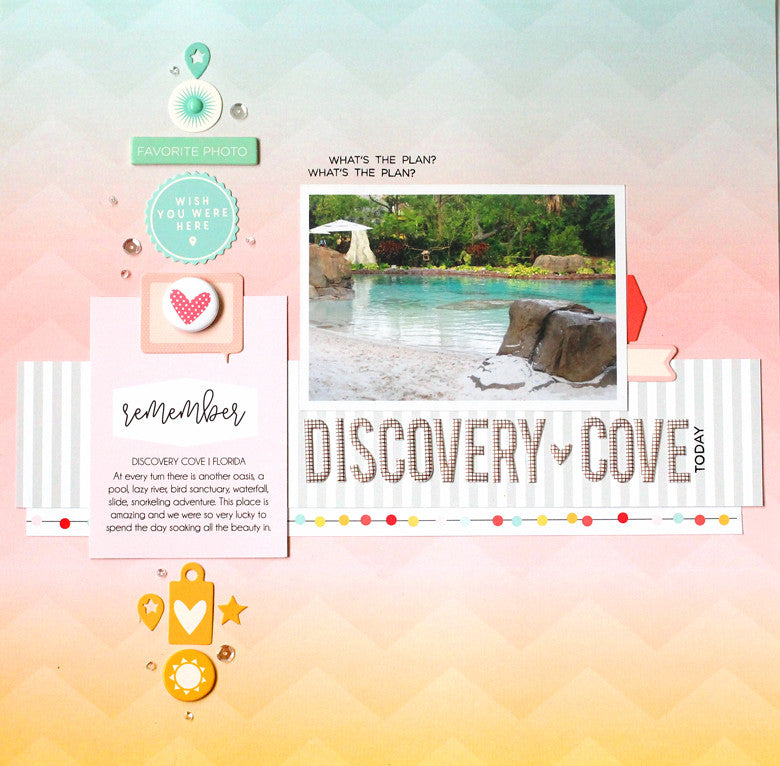
When creating a transitional, vertical line of embellishments like this remember to use many different shapes and sizes. The more the better the design will flow. Notice that a sprinkle of tiny sequins (from my stash) lead the eye from the top to the bottom - almost like a sparkly bread trail.
Discovery Cove by @nancydamiano | @felicityjane
The chipboard title is very long and serves as a shelf for the photo. The words underline the focal point and really draw attention to the center of the page. I placed a strip of neutral, gray striped patterned paper just underneath to ground the words. A border from one of the papers in the kit add a punch of color and some fun circles.
Discovery Cove by @nancydamiano | @felicityjane
Summer colors and photos are my absolute favorite to scrapbook. This beautiful kit is the perfect compliment to all of my summer stories. Don't forget to use color flow when you want to create beautiful layouts with a bold design.

June 6, 2017

Neat and Tangled June Release Day 2 | Beach Day

Hey there, welcome to the first day of the June Neat and Tangled release. The second stamp set up is called Beach Day and it's a fun whimsical design. I love these little swimming animals because I know that the cards I make with these will make someone smile. They are that cute!


To create this card I used a circle die to cut out three windows from a 5-1/4 x 4-1/2 card base. I used Distress Ink in Broken China to create the watery background. Next, I used the Neat and Tangled Beach Day stamp set to create the scene. Copic markers were used to give those stamped images a pop of color!


A few sprinkled sequins and a sentiment finish off this fun beach day card.

Neat and Tangled will be giving away a Beach Day stamp set. To enter, leave a comment below to be entered. Tell me what's your favorite type of card to create. Visit the Neat and Tangled blog on Friday for a list of winners. Good luck and thanks for stopping by!

June 5, 2017

Neat and Tangled Release Day 1 : Bloom!

Hey there, welcome to the first day of the June Neat and Tangled release. The first stamp set up is called Bloom and it's a beautiful floral design. I love this botanical design and especially the beautiful script sentiments.


To create this card I used the Neat and Tangled Bloom stamp set to create a pretty floral border just off the bottom edge of the card. I used Peerless watercolors for a pop of color in the flowers. The sentiment is stamped with a trio of pigment inks from Mama Elephant. I used those same pigment inks to create an ombre border on the right side of the card.


A few sprinkle of sequins and a sentiment finish off this floral card with a twist.

Neat and Tangled will be giving away a Bloom stamp set. To enter, leave a comment below to be entered. Tell me what's your favorite coloring medium. Visit the Neat and Tangled blog on Friday for a list of winners. Good luck and thanks for stopping by!